
Introduction to Laser Engraving on Leather
Laser engraving has transformed the way modern leather accessories are crafted. At Aure Luma, we create limited-batch, laser-engraved full-grain leather belts using a process that blends traditional craftsmanship with precise digital engraving. The goal is simple: to produce high-quality belts that are durable, uniquely designed, and true to the material they are made from.
Selecting the Right Leather
We work only with premium full-grain genuine leather, sourced from trusted suppliers. Many of our belts use oil pull-up leather, known for its natural character, strength, and ability to develop a rich patina over time. The leather is cut to the required width and length depending on belt style and size.
We do not offer customer-uploaded custom designs — all engravings are our own in-house original artwork.
Preparing the Design
Each engraving begins as a digital illustration created by our design team. Every pattern, motif, or artwork is developed in-house and then formatted for laser engraving using professional design software. All dimensions are checked to match the belt size and panel layout to maintain accuracy and consistency across batches.
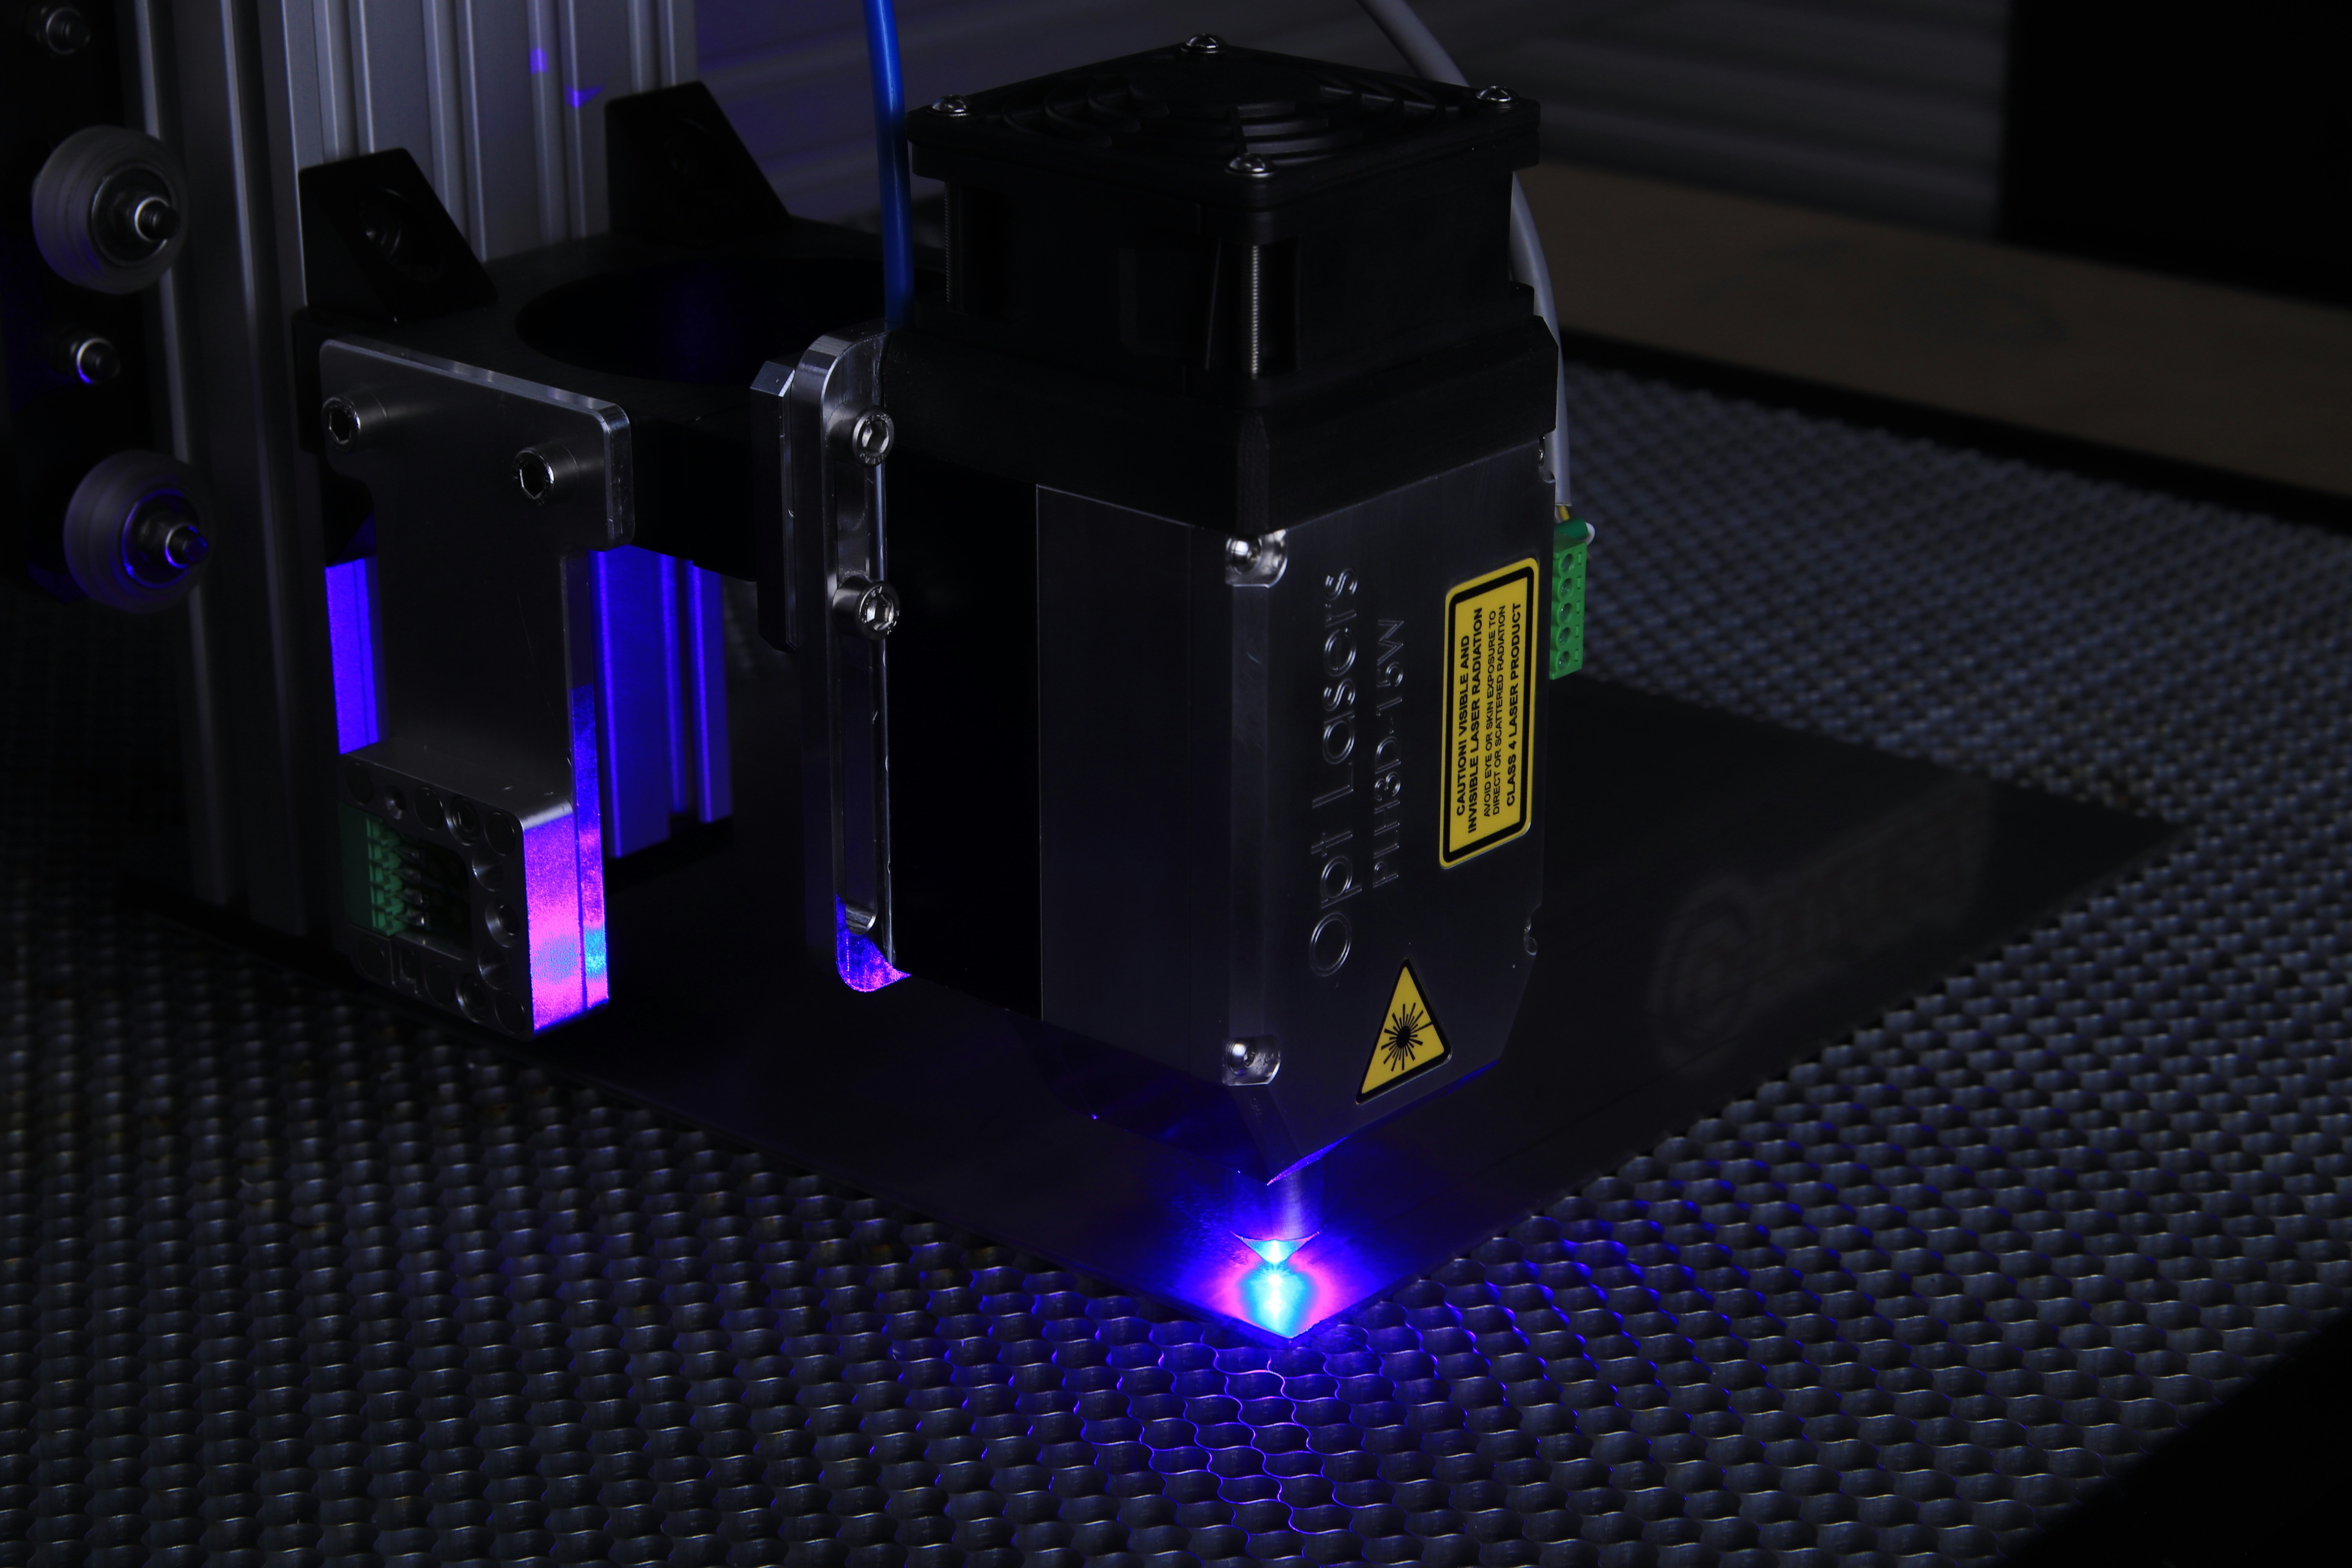
Engraving Process
Once the leather strip and artwork are ready, the belt is positioned inside the laser engraving machine. We adjust the power and speed settings based on leather thickness and type to ensure clean, precise engraving without compromising material integrity. The laser burns the design onto the leather surface, creating a permanent, detailed impression while maintaining the belt’s durability.
Finishing Touches
After engraving, each belt is hand-finished to ensure long-term performance. This includes:
- Light edge finishing and polishing
- Leather conditioning using appropriate oils or creams
- Attaching the antique-style or selected buckle
- Final quality inspection to ensure consistency and accuracy
Every piece is produced in limited batches with careful attention to detail — no mass production shortcuts.
Conclusion
Our laser-engraved belts combine meticulous craftsmanship, premium materials, and precise engraving technology. By following a controlled, transparent process, we ensure that every belt is authentic, well-made, and accurately represented. Customers receive a product that reflects genuine artistry and quality, free from exaggerated claims or misleading descriptions.